
Ever wanted to create those custom option panel as seen in premium WordPress themes? It’s never been easier to add options to your WordPress plugin or Theme.
Option Tree makes life easier by bridging the gap between theme developers, designers and end-users. Depending on your needs, you can use Option-Tree as an individual plugin or integrate it into your theme.
Installation is simple.
For plugins, you download option-tree and upload it to your /wp-content/plugins/ directory. While for Theme mode, you copy the option-tree directory to your theme root and add a few lines of code in functions.php
/* Required: set 'ot_theme_mode' filter to true. */

add_filter( 'ot_theme_mode', '__return_true' );
/* Required: include OptionTree. */

require( trailingslashit( get_template_directory() ) . 'option-tree/ot-loader.php' );
You will see a new menu item added to your Dashboard Menu – “OptionTree”
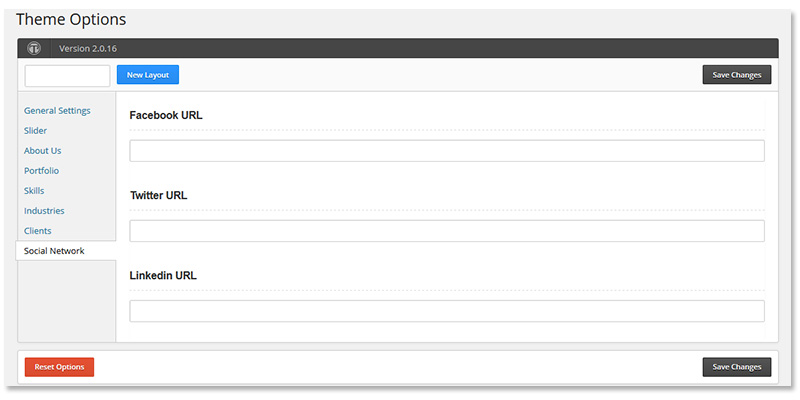
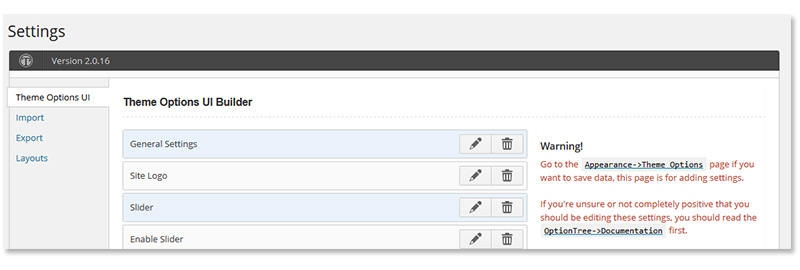
The Settings menu will let you build the UI for the Theme Options page. You can create many options including background, Color Picker, Checkbox, List items, etc which you can arrange in various sections. Give each of your options a unique-name as you will use them while fetching data in your theme template files.
You can use ot_get_option( $option_id, $default ); to get the value stored for particular option.
The documentation of Option-Tree covers pretty much everything you need to get started easily.
Conclusion
So, if your goal is to give your users a good control over your theme, you can use this framework which will make your theme development experience a lot easier. You can focus more on the design of your theme without worrying too much about code for saving/retrieving user settings.